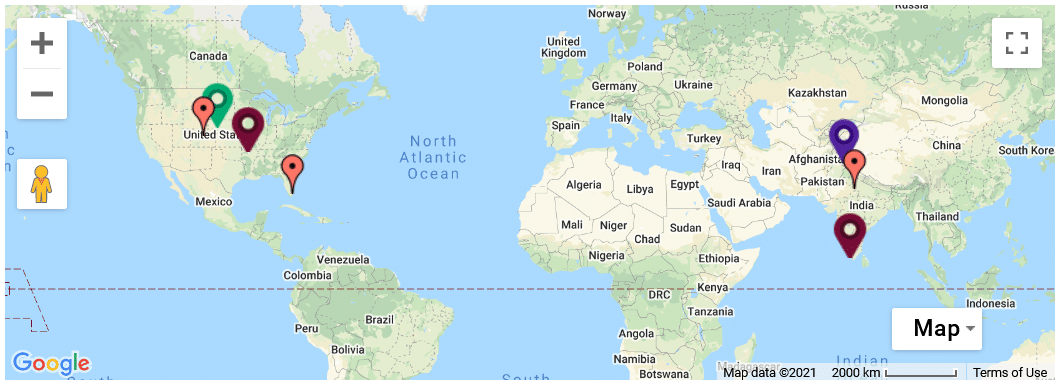
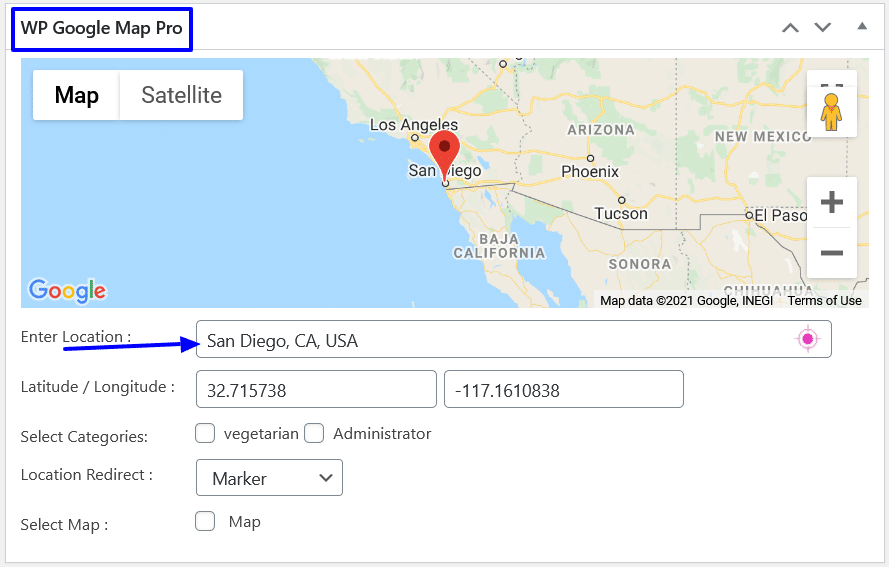
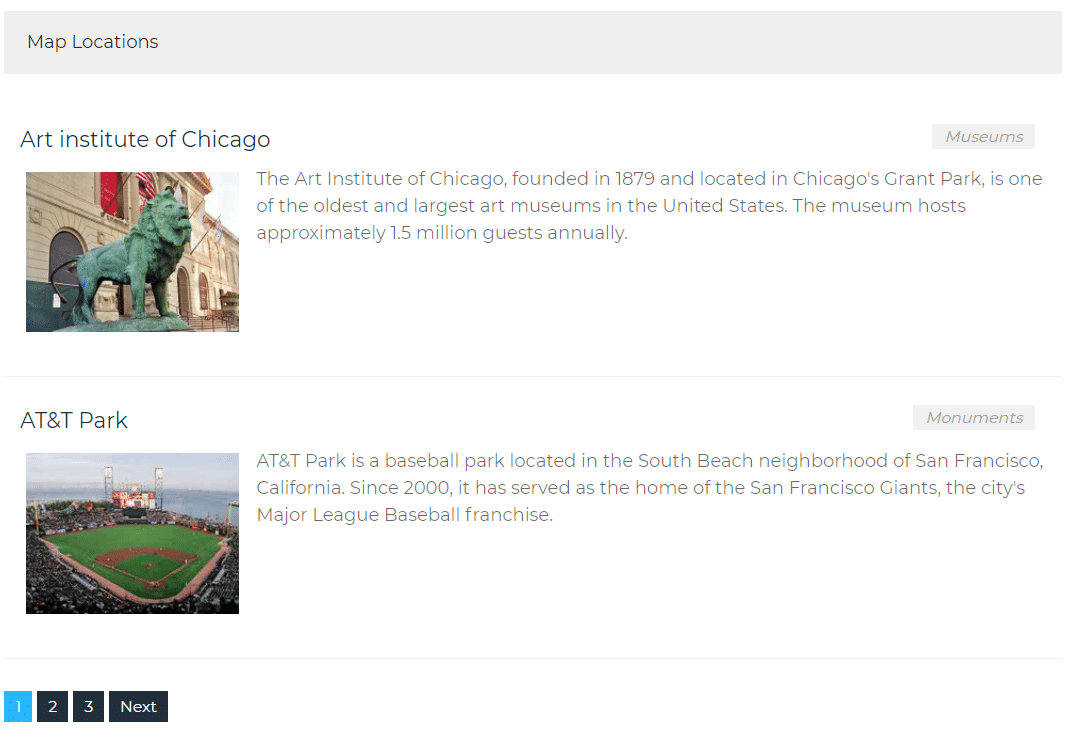
In our WP MAPS PRO Pro plugin, we have several parameters by which we can filter and modify the map. In this tutorial, we will see what parameters we have and how we can use these parameters to modify the map. Sometimes we use the same shortcode on multiple pages and want to modify the selected page’s map, here we just need to pass these parameters in the map shortcode.
Filter And Modify The Map Using Given Parameters
These are the following parameters we can use in the shortcode:
- category
- limit
- perpage
- hide_map=true
- map_only=true
- Zoom
- show_all_locations=true
- width
- Height
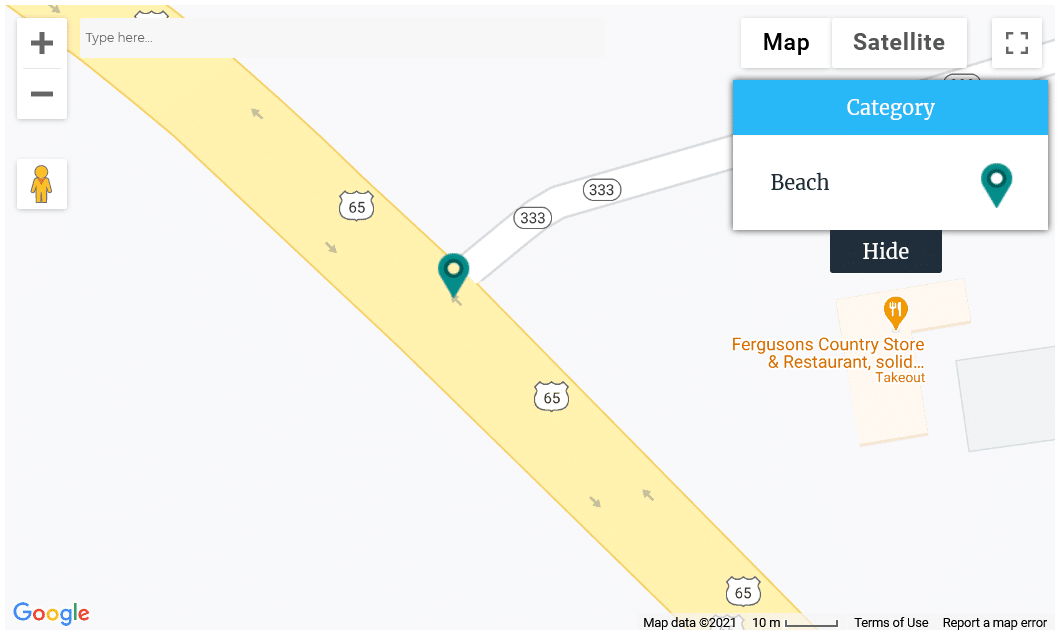
1. Filter Map By Category:
If your map has many categories and you want to show only the selected category in the map, then pass this “category=category name” parameter in the map shortcode.
Example: [put_wpgm id=1 category=Beach]
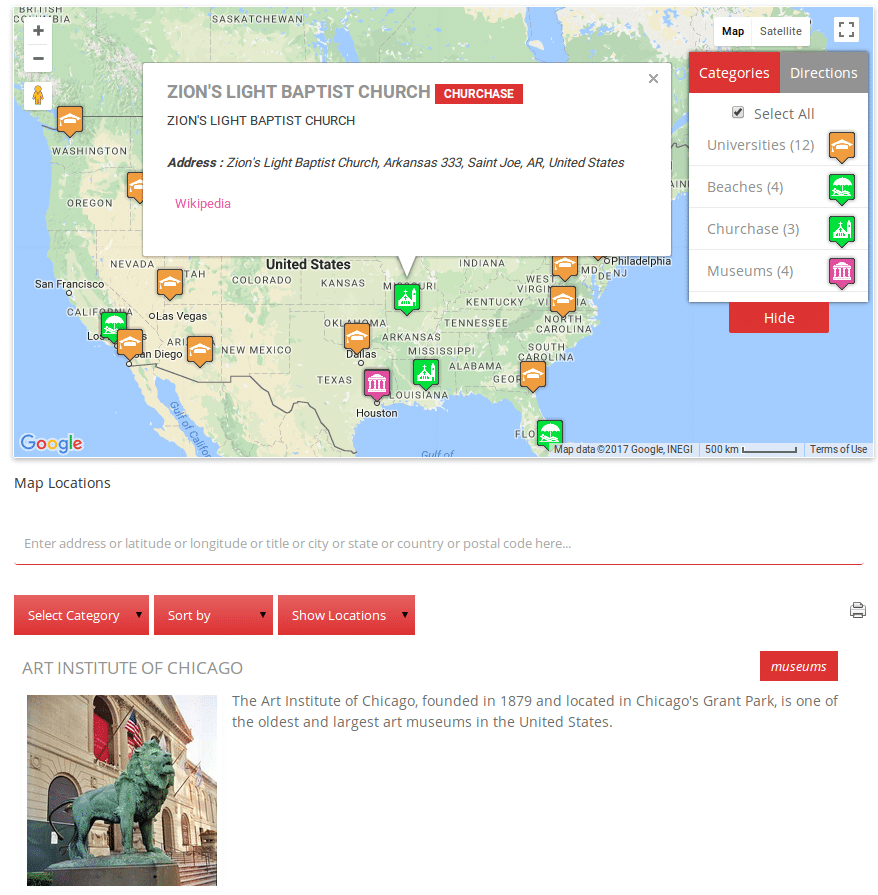
After saving this shortcode your map looks like below given image.
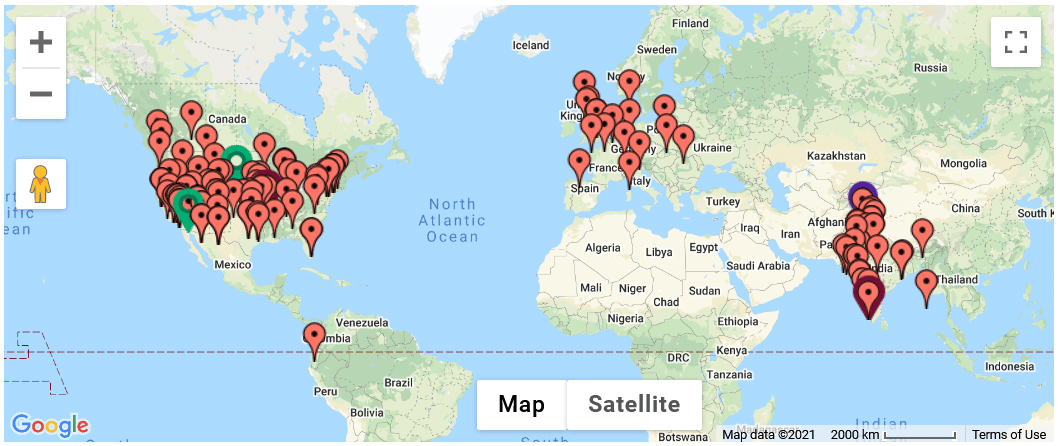
2. Display Limited Location On Map:
If your map has many locations and you want to show limited locations on the map pass this “limit=number” parameter in the map shortcode.
Example: [put_wpgm id= 1 limit=2]
After saving this shortcode your map looks like below given image.

3. Display Number Of Locations Per Page :
Using this parameter you can set how many locations displayed per page in the map listing. Please pass this “perpage=number” parameter as given below example.
Example: [put_wpgm id=1 perpage=2]
After saving this shortcode your map looks like below given image.
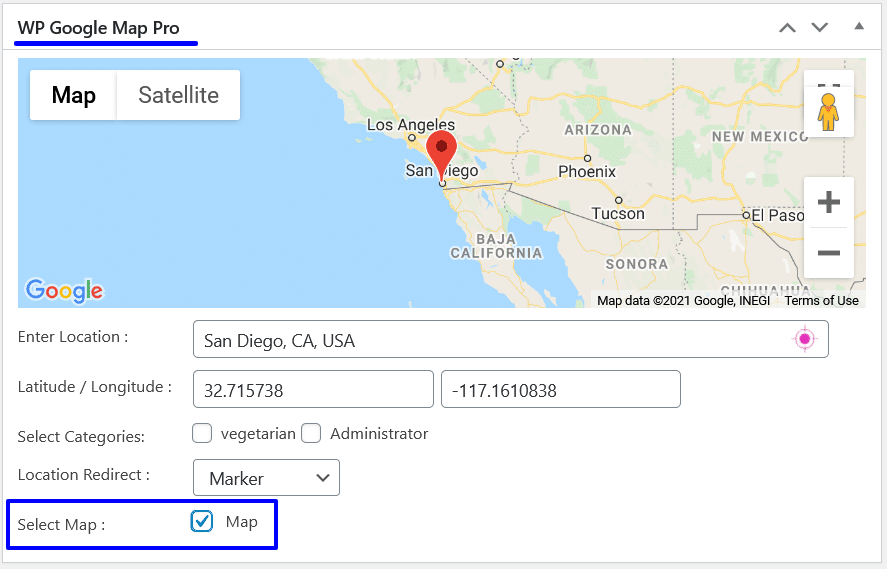
4. Hide Map :
Using this parameter you can hide the map and display only location listing on the frontend, Sometimes we use the same shortcode on multiple pages and want to hide the map and show only listing on the selected page. you just need to pass this “hide_map= true” parameter on the selected page’s shortcode.
Example: [put_wpgm id=1 hide_map=true ]
After saving this shortcode your map looks like below given image.
5. Display Only The Map:
Using this parameter you can hide the location listing and display the only map on the frontend, Sometimes we use the same shortcode on multiple pages and location listing is enabled so want to hide the listing and display the only map on the selected page. you just need to pass this “map_only= true” parameter on the selected page’s shortcode.
Example: [put_wpgm id=1 map_only=true ]
After saving this shortcode your map looks like below given image.
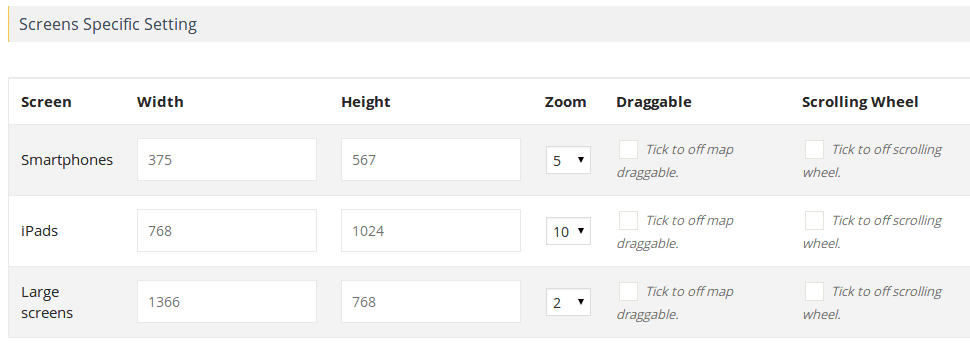
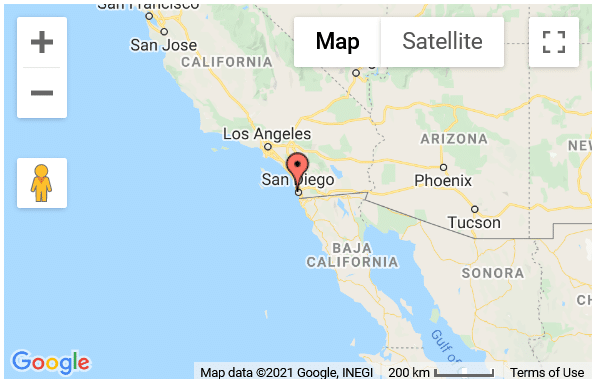
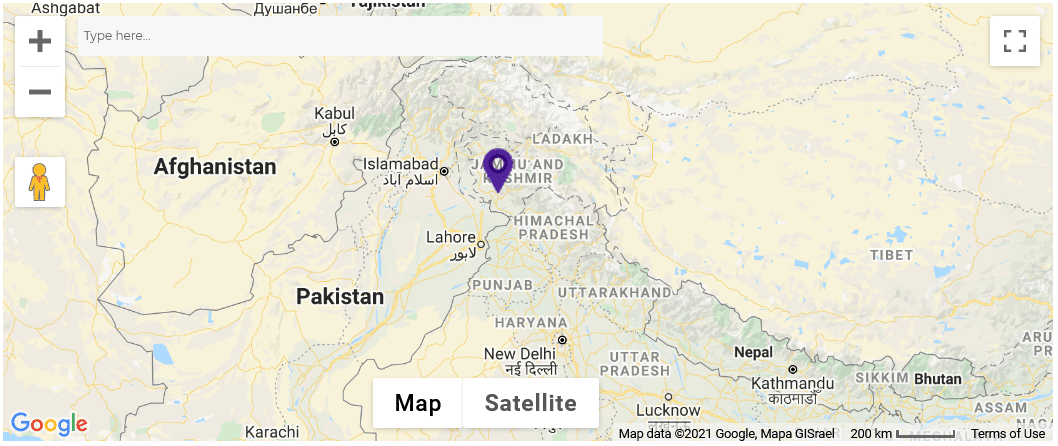
6. Set Map Zoom Level
Using this parameter you can set the map’s zoom level of the particular page. Please pass this “zoom” parameter as given below example.
Example: [put_wpgm id=1 zoom=5]
After saving this shortcode your map looks like below given image.
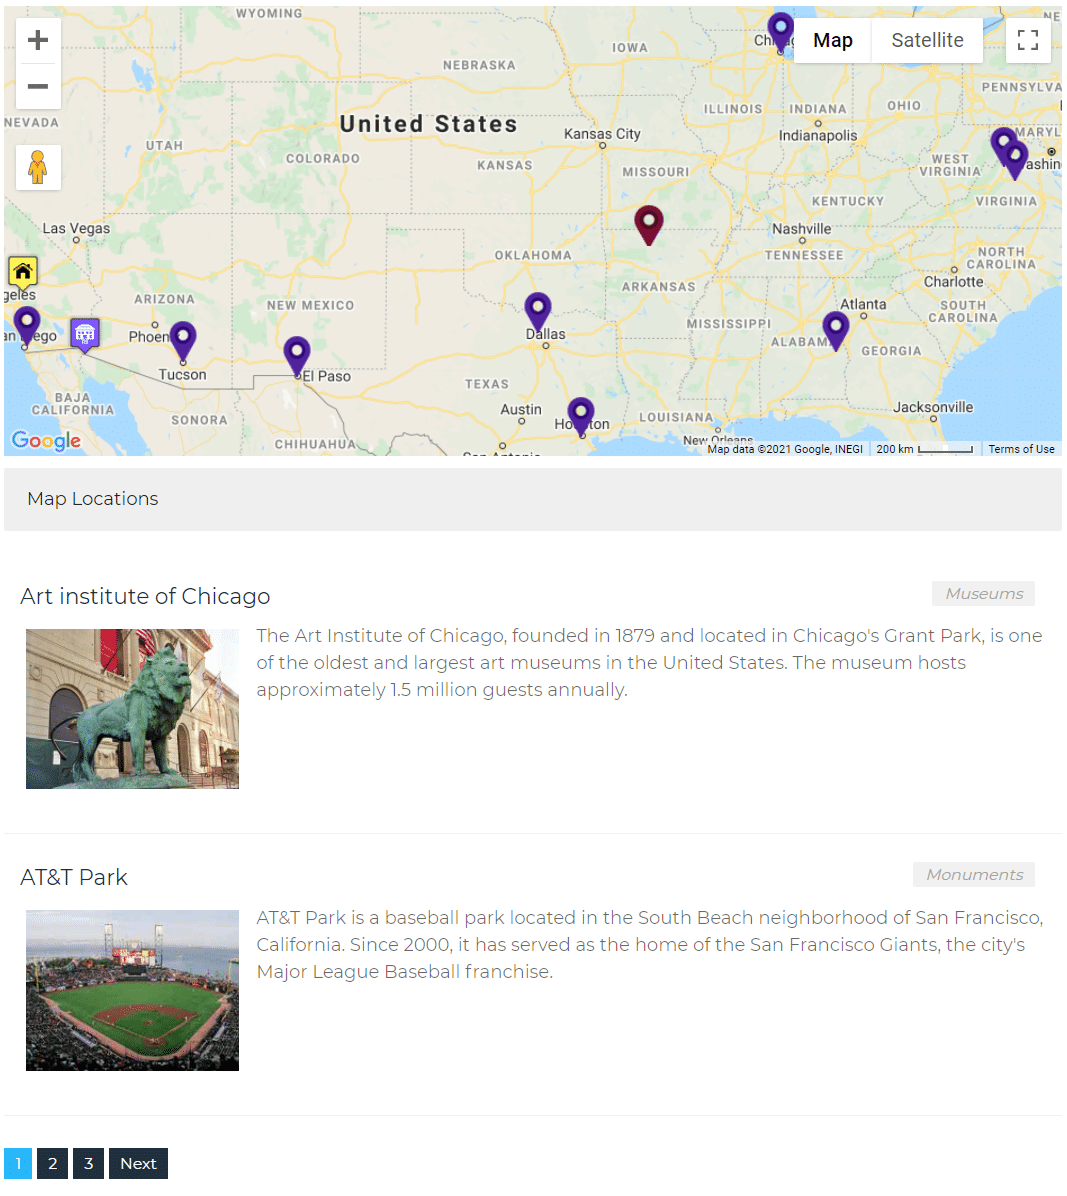
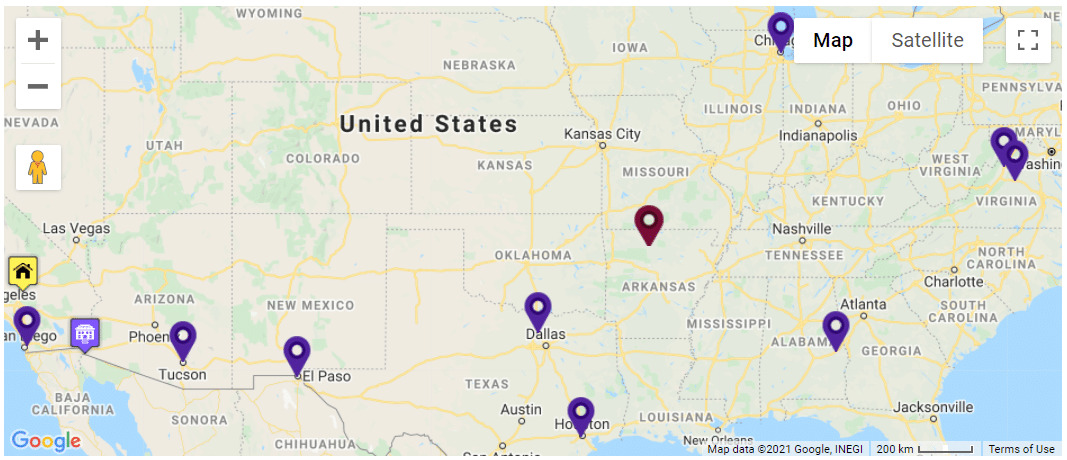
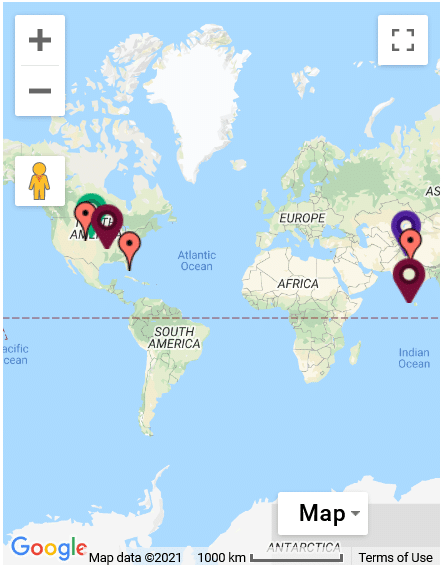
7. Show All Location:
Using this “show_all_locations=true” parameter, you can display all the locations that you have not assigned to that map, but want to appear on the same map on a particular page.
Example: [put_wpgm id=1 show_all_locations=true]
After saving this shortcode your map looks like below given image.
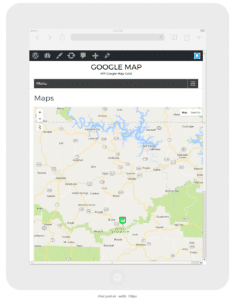
8. Change Map Width:
Using this parameter you can change the map width as per your requirement. Please pass this “width=number” parameter as given below example.
Example: [put_wpgm id=1 width=350]
After saving this shortcode your map looks like below given image.
9. Change Map height:
Using this parameter you can change the map height as per your requirement. Please pass this “height=number” parameter as given below example.
Example: [put_wpgm id=1 height=300]
After saving this shortcode your map looks like below given image.