Filter by Topics
How to Install WP Maps Pro (2 Easy Ways)
WP Maps Pro is a powerful WordPress plugin for displaying custom locations on maps. You can install it using either of the two methods below, based on where you purchased the plugin.
Method 1: Install via CodeCanyon.net
- Download the Plugin:
Log in to your CodeCanyon account and download the “Installable WordPress file only” ZIP file for WP Maps Pro. - Upload to WordPress:
Go to Plugins → Add New → Upload Plugin in your WordPress dashboard. Upload the ZIP file, then click Install Now and Activate. - Activate Your License:
Enter the license key you received from CodeCanyon to complete the activation. You should have received the key in the purchase confirmation email or read where is my purchase code
Method 2: Install via WePlugins.com
- Log in to Your Account:
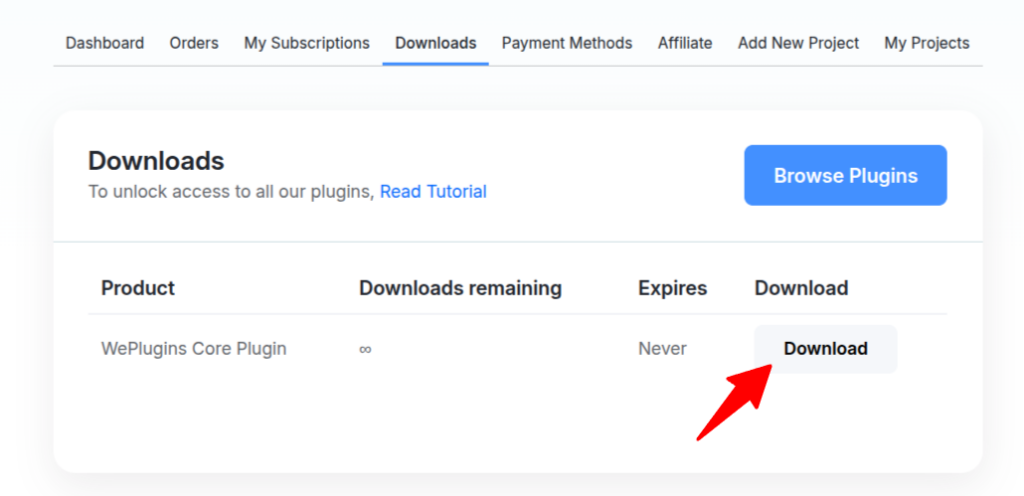
Visit weplugins.com/my-account and log in using your registered email. - Download & Install WePlugins Core Plugin:

Download the WePlugins Core Plugin ZIP file.
Upload it via Plugins → Add New → Upload Plugin and click Install Now, then Activate. - Enter Your License Key:
Paste your license key to activate the WePlugins Core and unlock WP Maps Pro. You should have received the key in the purchase confirmation email. - Download WP Maps Pro:

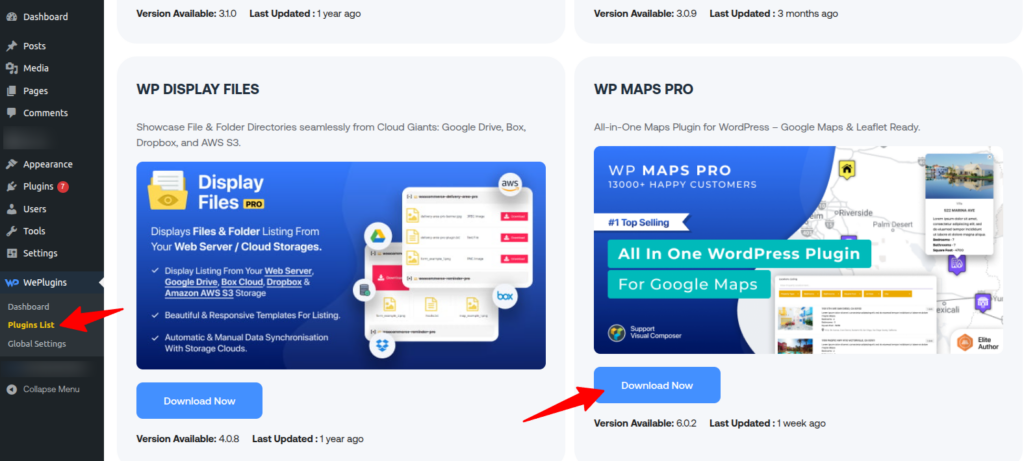
Go to Plugins List and navigate to WP MAPS PRO and download the plugin.
- Activate WP Maps Pro:
Go to Plugins → Installed Plugins, locate WP Maps Pro, and click Activate.
Need Help? If you have any questions or run into issues, feel free to contact our support team. We’re happy to help!


