Filter by Topics

This WP MAPS PRO plugin allows displaying the post’s custom field information in the infowindow message easily. Custom Fields can be associated with Pages, Posts, or custom post types. You can create unlimited custom fields and display them in the info window message.
Manage Custom Fields
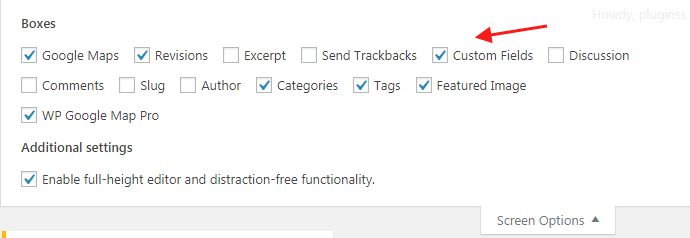
Step 1 WordPress allows adding custom fields by default. If this is not visible on your edit post page then you need to use the Screen Options at the top of the posts/pages and enable custom fields.
After that, the custom fields meta box appears at the bottom of the post editor screen.

Step 2 Here, you can add custom fields. All you need to do is give it a name and value.

Show Custom Fields
First, make sure you have assigned posts to your maps.
Step 1 Go to Add or Edit Map page and scroll down to Infowindow Message for Posts and use custom field placeholders.
Follow {%custom_field_name_here%} format to display custom fields in the infowindow content. e.g Use {%phone%}, {%website%} placeholders to display phone and website custom fields values.

Step 4 Click on Save Map.
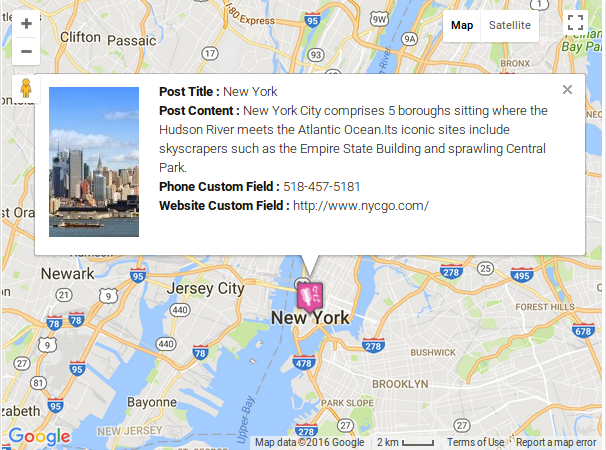
Below is the expected output which shows custom field values in infowindow message.